This tutorial guides you through overriding and extending a Venia component in order to display specific custom content in your custom React component on a custom Magento PWA site.
By the end of this tutorial, you will know how to:
- Create a simple custom React component with simple custom content for your Magento PWA Studio site
- Override Venia components to display that newly created custom content on your custom Magento PWA Studio site:
- Sample 1: Display a Masthead at the Main Top Content position on all pages of Magento PWA Studio site
- Sample 2: Display a Slideshow at the Main Top Content position on the homepage of Magento PWA Studio site
Once you master them, you can create your own complex React components beyond these small sample pieces.
Let’s get started.
Prerequisites:
This tutorial requires you to have a custom Magento PWA Studio project named pwa-sample set up using the steps provided in this tutorial.
Note: We will assume that you follow this tutorial with Magento PWA Studio v4.0.0, v5.0.0 or v5.0.1 (since these are available versions at the time we write this tutorial).
Step 1: Create a custom React component
In the example below, we will create a custom React component named MastHead.
Step 1.1:
- Navigate into the folder: PWA_STUDIO_ROOT_FOLDER/packages/pwa-sample/src
- Create a folder: components/MastHead
This results in a folder structure like:

Create a custom React component MastHead
Step 1.2:
- Navigate into the folder: PWA_STUDIO_ROOT_FOLDER/packages/pwa-sample/src/components/MastHead
- Create a new Javascript file masthead.js and add the highlighted code as follows:
import React from 'react';
import { shape, string } from 'prop-types';
import { mergeClasses } from '@magento/venia-ui/lib/classify';
import defaultClasses from './masthead.css';

const Masthead = props => {
const classes = mergeClasses(defaultClasses, props.classes);
return (
<div className={classes.root}>
<img src="https://www.ubertheme.com/wp-content/themes/runaway/assets/img/walls/head-pd.jpg" />
<div className={classes.headcontent}>
<h2 className={classes.title}>Hello PWA!</h2>
<p className={classes.desc}>The Magento PWA Studio project is a set of developer tools that allow you to develop, deploy, and maintain a PWA storefront on top of Magento 2.</p>
</div>
</div>
);
};

export default Masthead;

Masthead.propTypes = {
classes: shape({
root: string
})
}; - Next, create the new CSS file masthead.css and add the following style declarations:
.root {
position: relative;
}

.headcontent {
position: absolute;
top: 40px;
text-align: center;
color: #fff;
width: 100%;
}

img {
width: 100%
}

.headcontent h2 {
font-size: 36px;
margin-bottom: 20px;
} - Then, create the new file index.js with the following code:
export { default } from './masthead';
Step 2: Override Venia components
This step shows how to display the custom content created above on your custom Magento PWA Studio site by overriding Venia components.
2.1. Create an overwrite webpack plugin:
- Create a folder with this directory structure: PWA_STUDIO_ROOT_FOLDER/packages/pwa-sample/src/plugins
- Download the Javascript file at https://github.com/ubertheme/pwa-menu/blob/master/src/plugins/normalModuleOverrideWebpackPlugin.js and upload it into the folder you’ve just created: PWA_STUDIO_ROOT_FOLDER/packages/pwa-sample/src/plugins
2.2. Register the webpack plugin
- Open the webpack.config.js file in your custom PWA project:
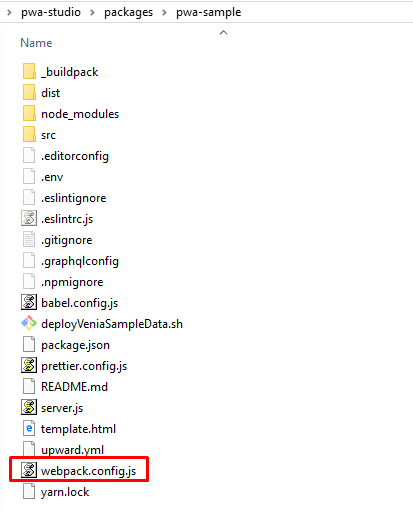
Register the Webpack plugin
- And find the line:
return [clientConfig, serviceWorkerConfig];
and replace it with:
const path = require('path');
// Plugin to override components
const NormalModuleOverridePlugin = require('./src/plugins/normalModuleOverrideWebpackPlugin');

// Overwrite components mapping
const parentPackagePath = path.resolve(process.cwd() + '/../venia-ui');
const componentOverrideMapping = {};

// Push the override plugin
clientConfig.plugins.push(
new NormalModuleOverridePlugin(componentOverrideMapping)
);

return [clientConfig, serviceWorkerConfig];
This results in an output like:
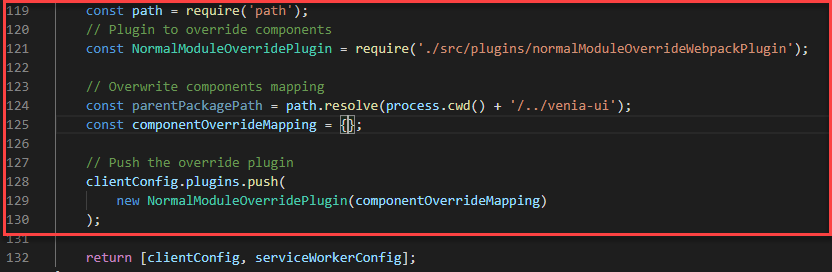
Register the Webpack plugin
2.3. Display the custom React component on your Magento PWA Studio site.
In this step, we guides you through two samples of custom React components:
- Sample 1: Display the MastHead component at Main Top Content position on all pages of your Magento PWA Studio site.
- Sample 2: Display the custom content with Slider type at the Main Top Content position on the homepage of your Magento PWA Studio site.
Sample 1: Let’s start with the MastHead sample first:
-
Step 2.3.1: Copy the Javascript file at PWA_STUDIO_ROOT_FOLDER/packages/venia-ui/lib/components/Main/main.js and paste it to the folder at PWA_STUDIO_ROOT_FOLDER/packages/pwa-sample/src/lib/components/Main/main.js (Create this folder path if it does not exist in your instance)
This results in an output like:
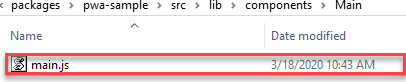
The main JS file of the MastHead component
- Step 2.3.2: Create overwrite mapping
Open the PWA_STUDIO_ROOT_FOLDER/packages/pwa-sample/webpack.config.js file and find the line:
const componentOverrideMapping = {};and replace it with:
const componentOverrideMapping = { [`${parentPackagePath}/lib/components/Main/main.js`]: 'src/lib/components/Main/main.js',
};
This results in an output like:

The main JS file of the MastHead component
- Step 2.3.3: Add custom code
Open the PWA_STUDIO_ROOT_FOLDER/packages/pwa-sample/src/lib/components/Main/main.js file and find the line:
import { mergeClasses } from '../../classify';
import Footer from '../Footer';
import Header from '../Header';
import defaultClasses from './main.css';
and replace it with:
import { mergeClasses } from '@magento/venia-ui/lib/classify';
import Footer from '@magento/venia-ui/lib/components/Footer';
import Header from '@magento/venia-ui/lib/components/Header';
import defaultClasses from '@magento/venia-ui/lib/components/Main/main.css';

import Masthead from '../../../components/MastHead';
This results in an output like:
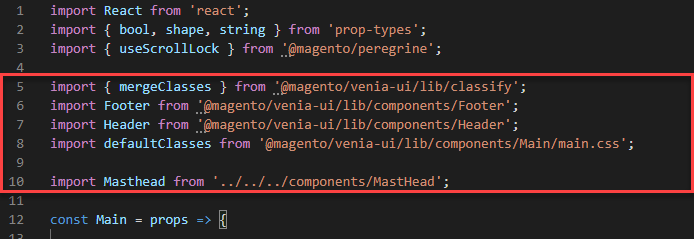
Add custom code to the main JS file of the MastHead component
Next, in the same file, find the code line:
<Header />
and replace it with:
<Header />
<Masthead />
This results in an output like:

Add custom code to the main JS file of the MastHead component
Sample 2: If you want to show the custom content with Slider type at the Main Top Content position on the homepage of your Magento PWA Studio site, follow these steps:
- Step 2.3.1: Copy the Javascript file at PWA_STUDIO_ROOT_FOLDER/packages/venia-ui/lib/RootComponents/CMS/cms.js and paste it to the folder at PWA_STUDIO_ROOT_FOLDER/packages/pwa-sample/src/lib/RootComponents/CMS/cms.js (Create this folder path if it does not exist in your instance). This results in an output like:
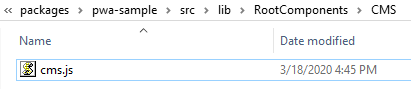
Show the custom content with Slider type on the homepage
- Step 2.3.2: Navigate into the PWA_STUDIO_ROOT_FOLDER/packages/venia-ui/lib/RootComponents/CMS/ folder and create a new custom.css file like this screenshot:
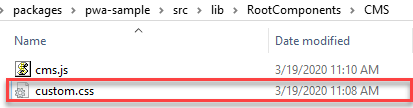
Create the custom.css file
- Step 2.3.3: Create overwrite mapping
Open the PWA_STUDIO_ROOT_FOLDER/packages/pwa-sample/webpack.config.js file and find the line:
const componentOverrideMapping = {};and replace it with:
const componentOverrideMapping = {
[`${parentPackagePath}/lib/RootComponents/CMS/cms.js`]: 'src/lib/RootComponents/CMS/cms.js'
};
The result looks like:
Create overwrite mapping
- Step 2.3.4: Add custom code.
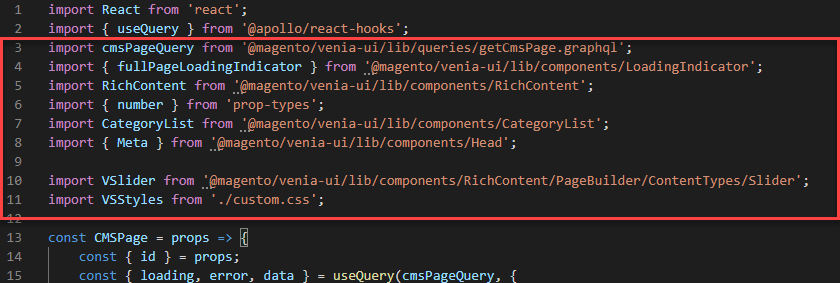
Open the PWA_STUDIO_ROOT_FOLDER/packages/pwa-sample/src/lib/RootComponents/CMS/cms.js file and find the line:import cmsPageQuery from '../../queries/getCmsPage.graphql'; import { fullPageLoadingIndicator } from '../../components/LoadingIndicator'; import RichContent from '../../components/RichContent'; import { number } from 'prop-types'; import CategoryList from '../../components/CategoryList'; import { Meta } from '../../components/Head';And replace it with:
import cmsPageQuery from '@magento/venia-ui/lib/queries/getCmsPage.graphql';
import { fullPageLoadingIndicator } from '@magento/venia-ui/lib/components/LoadingIndicator';
import RichContent from '@magento/venia-ui/lib/components/RichContent';
import { number } from 'prop-types';
import CategoryList from '@magento/venia-ui/lib/components/CategoryList';
import { Meta } from '@magento/venia-ui/lib/components/Head';

import VSlider from '@magento/venia-ui/lib/components/RichContent/PageBuilder/ContentTypes/Slider';
import VSStyles from './custom.css';
This results in an output like:
Add custom code to the cms.js file
Next, in the same file, find the line:
if (loading) {
  return fullPageLoadingIndicator;
}
Replace it with:
 if (loading) {
        return fullPageLoadingIndicator;
    }

    const vSliderProps = {
        minHeight: '300px',
        autoplay: true,
        autoplaySpeed: 3000,
        fade: true,
        infinite: true,
        showArrows: true,
        showDots: true
    };
This results in an output like:
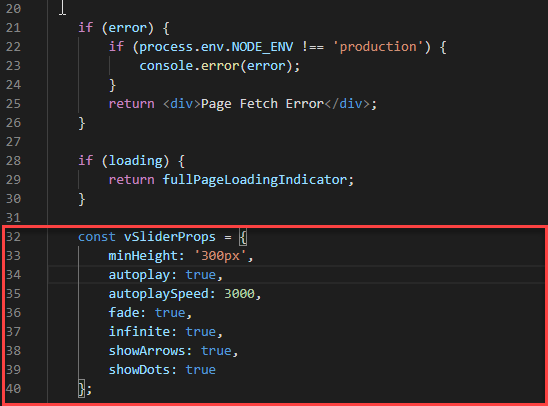
Add custom code to the cms.js file
Finally, in the same file, find the line:
{content}And replace it with:
<div className={ VSStyles.container }>
<VSlider {...vSliderProps}>
<div>
<a href={'/venia-tops/venia-sweaters.html'}>
<img src="https://images.pexels.com/photos/794494/pexels-photo-794494.jpeg" width="600" />
</a>
</div>
<div>
<a href={'/venia-tops/venia-blouses.html'}>
<img src="https://images.pexels.com/photos/534124/pexels-photo-534124.jpeg" width="600" />
</a>
</div>
</VSlider>
</div>
{content}
This results in an output like:
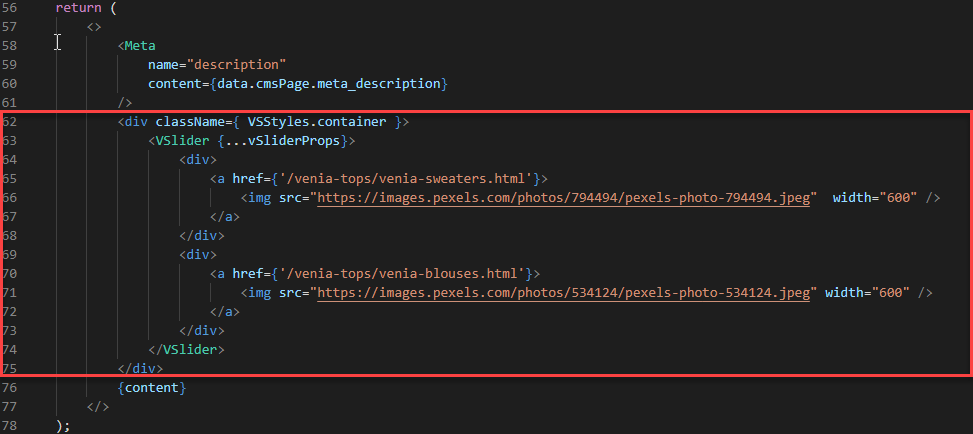
Add custom code to the cms.js file
- Step 2.3.5: Add custom CSS
Open the PWA_STUDIO_ROOT_FOLDER/packages/pwa-sample/src/lib/RootComponents/CMS/custom.css file and add the following style declarations:.container { max-width: 600px; margin: 20px auto 0; }This results in an output like:

Add custom CSS
Step 3: Build and Start your Magento PWA Studio project
Open your terminal, navigate to the pwa-studio root folder and run the commands:
yarn install
yarn pwa-sample build
yarn pwa-sample watch
Once done, you should see the output like one of the following screenshots (depending on which sample you follow in Step 2):
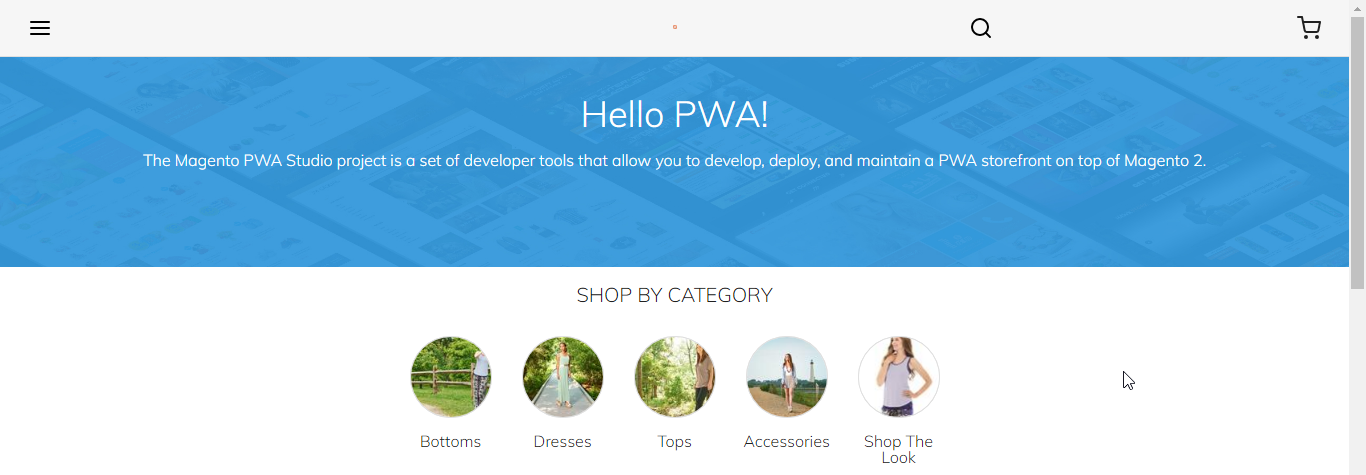
Sample 1: The MastHead component at Main Top Content position on all pages of your Magento PWA Studio site.
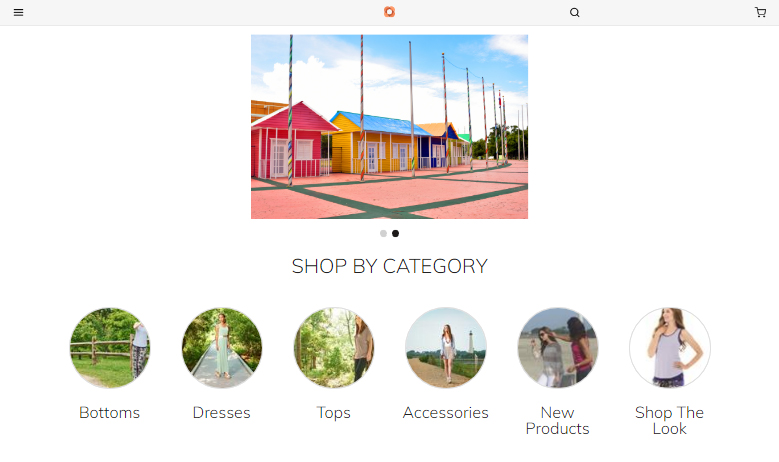
Sample 2: The Slider with custom content at the Main Top Content position on the homepage of your Magento PWA Studio site
Throughout this tutorial, we touched on how to create a simple React component and how to override Venia component to show your custom content on a Magento PWA Studio project. We hope you now feel like you have decent grasp on how the basic building blocks work on a Magento PWA Studio project. For a more detailed explaination of Magento PWA Studio, check out official Magento PWA guideline here.
Useful links
- [Tutorial] How to create a custom PWA project on top of Magento PWA Studio
- [Magento PWA Menu] The Hamburger Menus vs. Tab Bars on mobile design
- Live demo and features of UB Mega Menu for Magento PWA Studio
- Need technical support, submit a ticket via here.